SHADOWS/HIGHLIGHTS
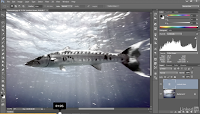
 I would use this tool to edit photos that have either too much light, or too much dark shadows in them, or even a mixture of both. Here is the original image!
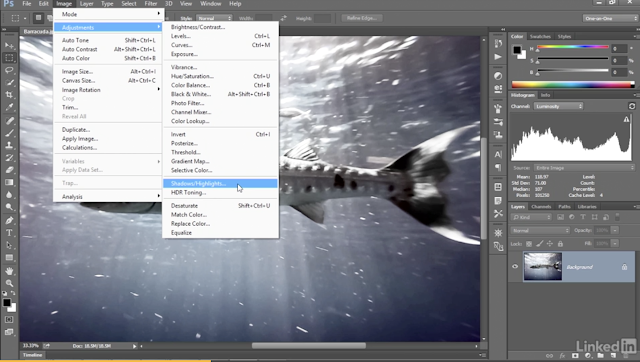
The starting image is imbalanced, so we'll go over to the Image menu > Adjustments > Shadows/Highlight.
A box will pop up where you can adjust the shadows (make them brighter/darker) and highlights (making the lighter areas of the photo brighter/darker).
If you still want to make changes to the photo after these smaller adjustments, click on the Show More Options box.
With the expanded dialogue box, a good place to start fiddling would be the Radius slide-bars. In this example the shadows and highlights radius slide-bars are both raised to 200.
A good touch-up choice would be to set the Color slide-bar in the Adjustments section to 0, so that colors aren't over-exaggerated.
For some final touches, go to the Amount slide-bars in the shadow and highlight sections and adjust them as you see fit. In this example both are set to 50.
HOW IT LOOKED AT FIRST


Comments
Post a Comment