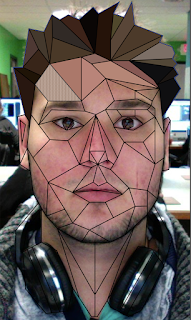
On the right you can see a half-finished, low-poly self portrait, made in illustrator.
Here is a step-by-step:
1.) choose a picture of your choice.
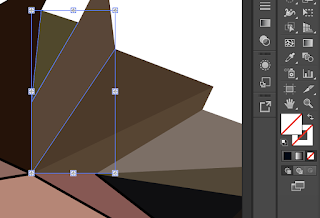
2.) using the pen tool fill out your face with a series of differently
sized shapes on a separate layer.
 3.) use the 'Live Paint Selection Tool' to select individual shapes.
 4.) after a shape is selected, fill it with the general color within that shape by simply clicking on it with the 'Eyedropper Tool'
5.) Repeatedly select and fill the shapes using the Live Paint Selection Tool and the Eyedropper Tool until all the shapes are filled.

6.) After all the shapes are filled in, using the Black Mouse Tool, select the shape outlines and make them have no fill.
7.) Delete the layer with the photo of yourself in it. (or just make it invisible)
8.) Add a background if you want :)

Comments
Post a Comment